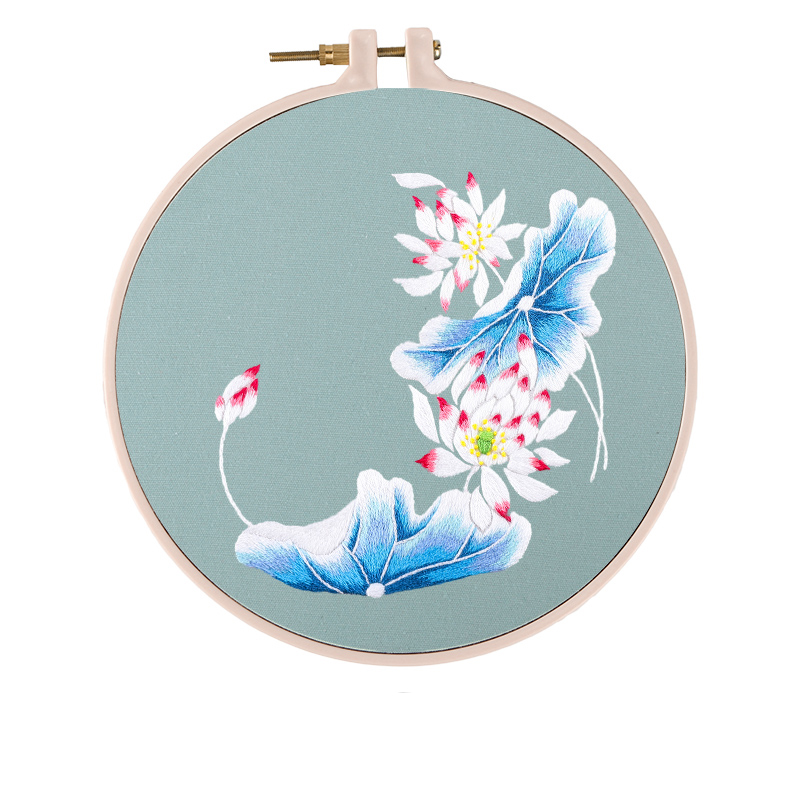
Name: Fresh Flower Handmade Embroidery
Process: Water-soluble precision printing
Material: cotton fine-line sail; cloth
Embroidery cloth size: 24cm*24cm
Hand embroidery is a traditional craft that involves decorating fabric using needle and thread to create intricate designs and patterns. It’s a versatile art form that can range from simple stitches to complex designs, offering endless creative possibilities. Here’s a basic guide to get started with hand embroidery:
- Gather Supplies: You’ll need basic embroidery supplies including embroidery hoops, fabric, embroidery needles, embroidery floss or thread, scissors, and a pattern or design to work from.
- Choose Fabric: Select a fabric for your embroidery project. Common choices include cotton, linen, or even denim. Make sure the fabric is clean and free from wrinkles before you start stitching.
- Select a Design: Decide on a design for your embroidery project. You can find pre-made embroidery patterns online or in craft books, or you can create your own design. Start with simple designs if you’re new to embroidery.
- Transfer the Design: Transfer the design onto your fabric using one of several methods: tracing with a water-soluble pen or pencil, using transfer paper, or printing directly onto the fabric using a printer.
- Prepare the Hoop: Place the fabric in the embroidery hoop, tightening the screw to hold the fabric taut. This will make it easier to stitch and keep the fabric flat.
- Thread the Needle: Cut a length of embroidery floss or thread (usually about 18 inches) and separate the strands according to the thickness you desire. Thread the needle, and knot the end of the thread.
- Start Stitching: There are numerous embroidery stitches you can use, but some common ones for beginners include backstitch, running stitch, satin stitch, and French knot. Follow your design, stitching along the lines or filling in areas as needed.
- Experiment with Color and Texture: Have fun experimenting with different colors of thread and textures of stitches to bring your design to life. Mix and match stitches to create interesting effects.
- Practice and Patience: Like any skill, embroidery takes practice to master. Don’t be discouraged if your first few stitches aren’t perfect. With time and patience, your stitches will improve, and you’ll develop your own unique style.
- Finish and Display: Once you’ve completed your embroidery, remove the fabric from the hoop and trim any excess fabric. You can then frame your embroidery, turn it into a patch, or incorporate it into other sewing projects.
Embroidery is a relaxing and rewarding hobby that allows you to express your creativity while creating beautiful works of art. Enjoy the process and let your imagination guide you as you stitch!


Reviews
Clear filtersThere are no reviews yet.